But I have a little something for you.
Nothing is in a very good state to be photographed and blogged, so I'll do a quick mock french seam tutorial, ok? Maybe it will help someone with their sewing. Here's how it's done.
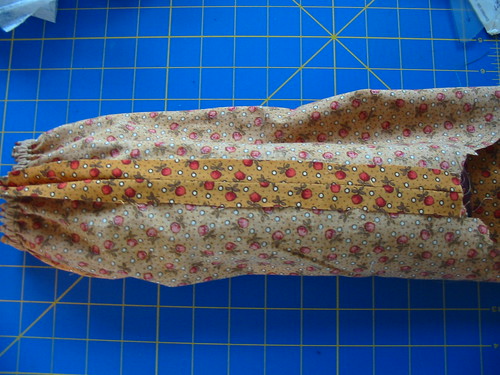
First, press the seam open as usual. I am showing a sleeve here, obviously, and I am using a sleeve press inside. It's a great tool and I highly recommend it if you sew a lot of garments.
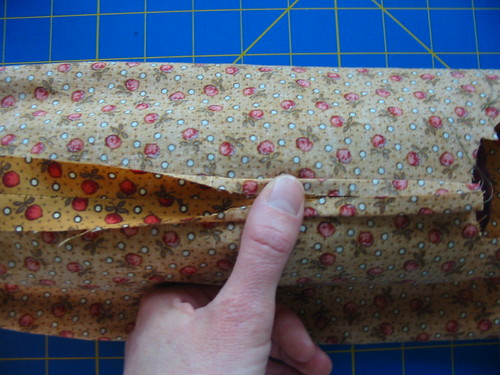
Next, fold both halves of the seam allowance toward the center and press. These are 5/8" seam allowances, and my sewing books say to trim them down first, but I don't bother. It's easier to do it with a bit more fabric and you have less chance of scorching your fingers.
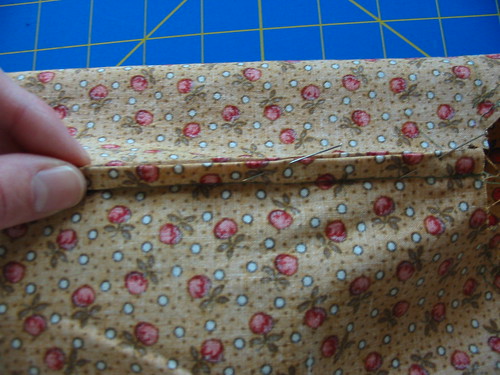
Fold both sides toward the middle and pin.
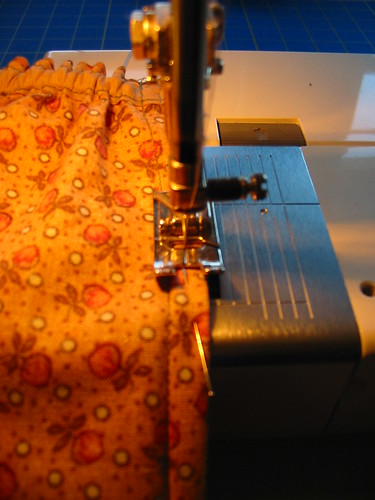
Stitch down the middle, removing pins as you sew. You'll be stitching parallel to the original seam. This process will catch the raw edges inside and make a nice finished edge.
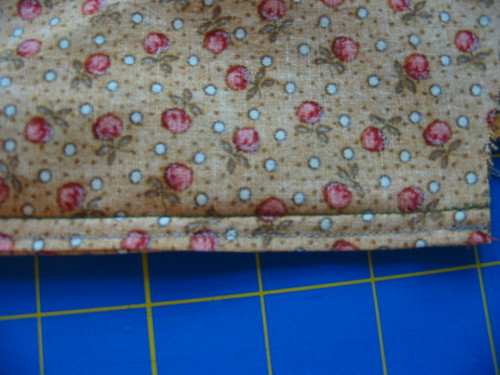
Here's the finished seam. The original sleeve seam is the top line of stitching, and the mock french seam is the bottom line of stitching. Now this can be pressed to one side and you proceed with the garment's construction as usual.
It's a nice method and looks a bit neater than a serged seam if anyone catches a glimpse of the inside (though I still definitely use my serger a lot).

5 comments:
Thank you!! I don't have a serger, and this will definitely look a million times nicer than the, um, sad, fraying unfinished edges I usually leave on the inside. I know. I could do so much better if I bothered to try... I'm also giving serious thought to your comment about a good sewing how-to book. But thanks for this!
what a fantastic alternative if you don't have a serger or your machine is old and doesn't have a built-in zig zag function.
cute sleeve, too.
Yep, I live a minute from the airport. That storm was scary, huh? I thought my house was going to blow over lol. I don't sew, but looks interesting. =)
Very cool ... I just volunteered to sew capes for Young'un's class play, so I will be using your advice sooner than I otherwise might!
I haven't said how glad I am to see you posting again. I am. I missed you.
Boy, I wish I had thought of that! I can't tell you how many times I fussed my way through real french seams. I like this idea.
Post a Comment