A few people have asked about my yo-yos, and in real life I've had many people say, "yo-yo? What is this yo-yo of which you speak?" I thought everyone knew about these, but then again, I suppose I didn't know much about a lot of sewing stuff until I worked in a quilt shop.
So here is some yo-yo info.
You want to start with a circle of fabric - something lightweight like a calico is perfect. They look especially sweet in vintage fabrics, like 30s and 40s feedsacks and other small prints. You don't want anything large-scale because you'll lose the design. The circle you start with needs to be approximately two times (2X) the size you want your finished yo-yo to be.
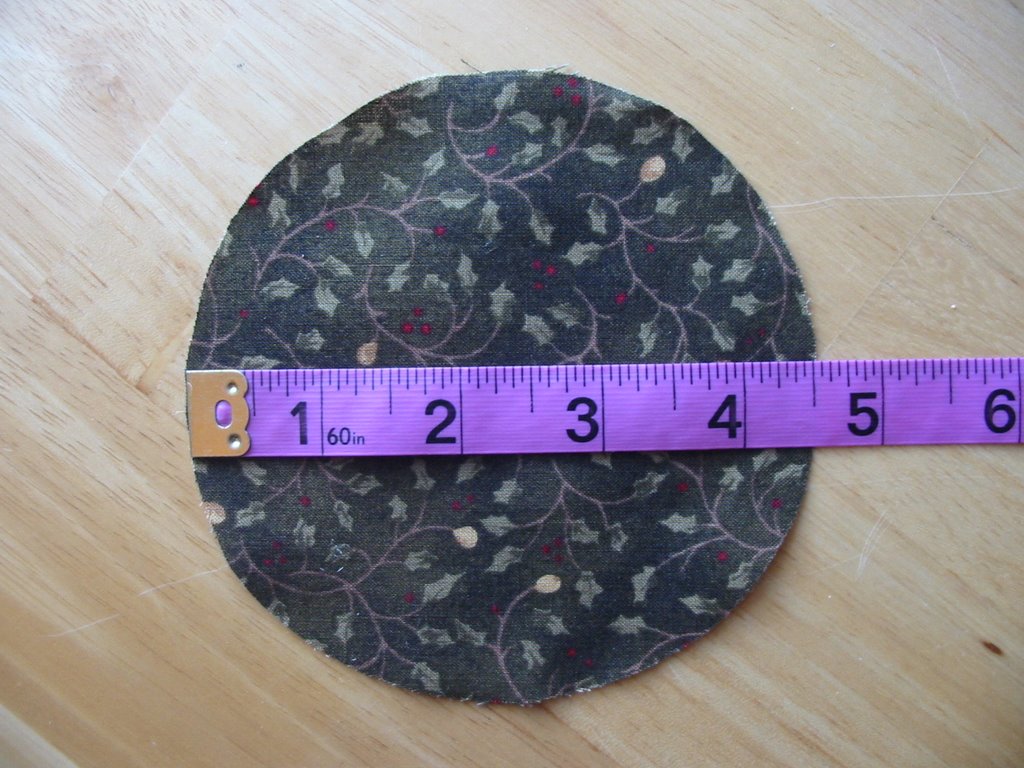
I must have wanted about a 2 or 2.25 inch yo-yo, because I made my initial circles 4.5 inches across. You don't have to be really precise about this unless you have special circle templates to work with. I used a round food storage container, and just traced each circle with a marker. It takes a long time, and so does cutting them all out, but it's a good tv-watching activity. If you can get your hands on a die-cutting machine, so much the better. Punch out a bunch at a time and you're ready to go.
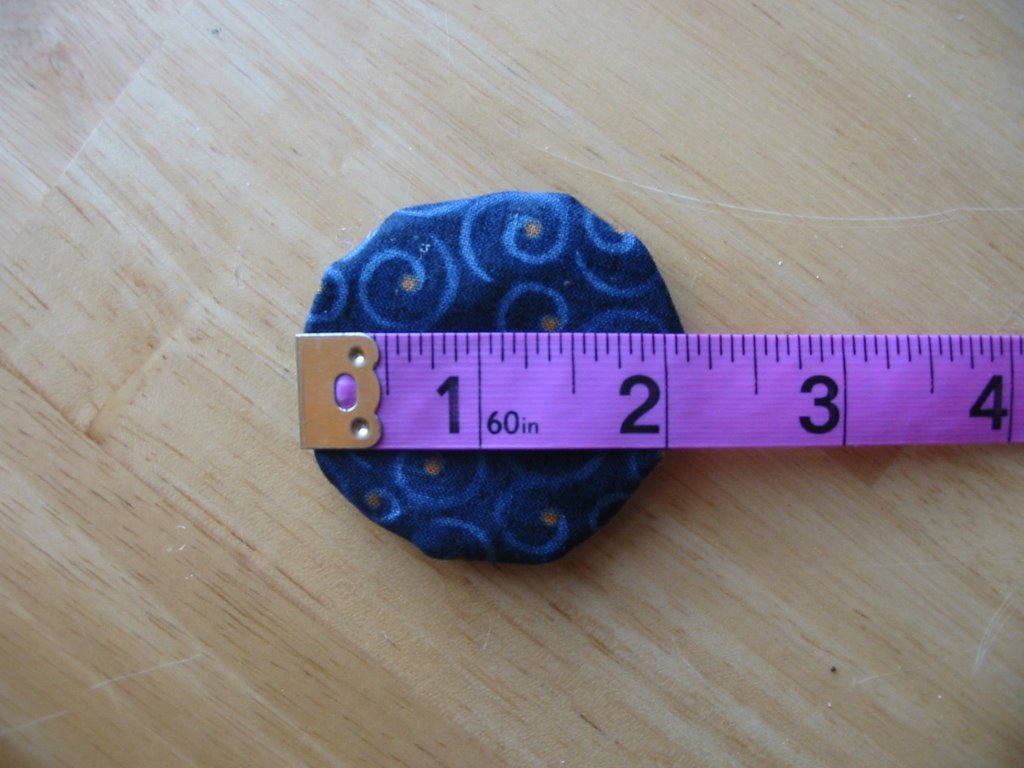
Making yo-yos is not a precision activity. Mine vary from about 2 and 1/8 inches to 2.25 inches finished. That's ok with me.

Once your circles are all cut, you can start stitching. You can't beat these for simplicity of preparation. Just thread a fine needle with a double strand of thread, about 15 inches long or so, tie a double knot at the end (important because you will be pulling it quite taut), and begin folding the edge of the circle to the wrong side, about 1/4 inch. As I said, no real precision necessary. I am right-handed, so I fold the edge with my left hand and load the stitches with my right.
Use a running stitch, making sure to keep the knot on the folded side so you won't see it when you're done. Make your stitches about 1/8 to 1/4 inch long. You don't have to be real neat here, just try to keep both your stitches and the amount you fold over fairly consistent.

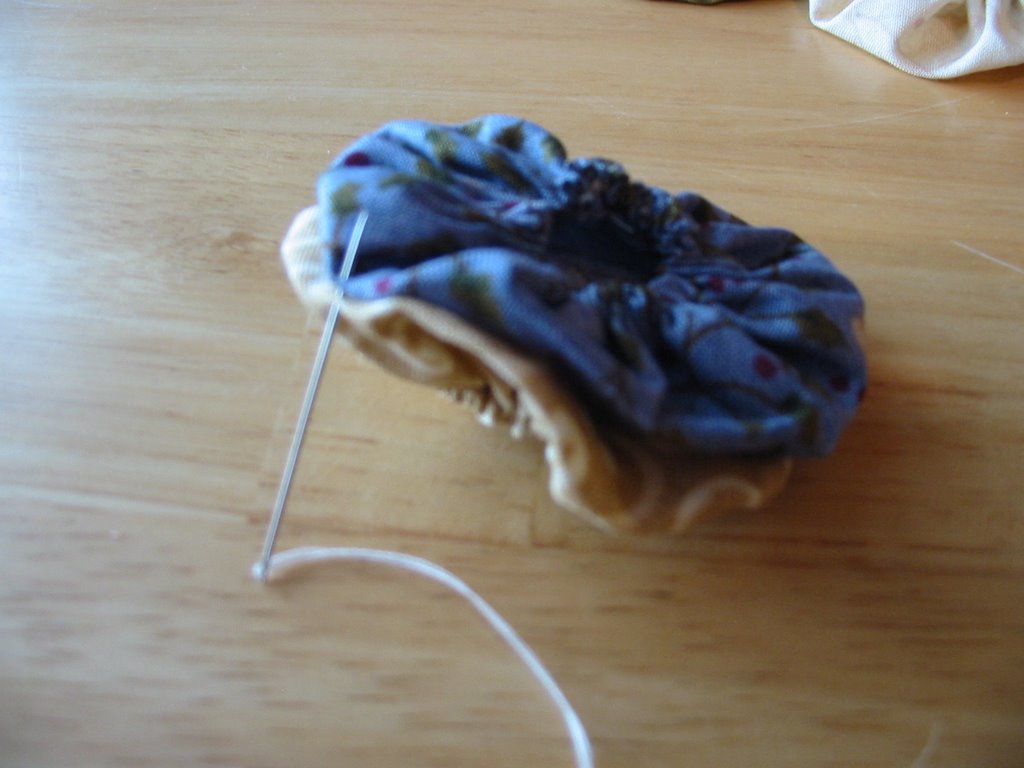
Sorry for the lousy quality of some of these photos. It's hard to take pictures of such small stuff. Here I am just trying to show that I load a lot of stitches on my needle before pulling it through.
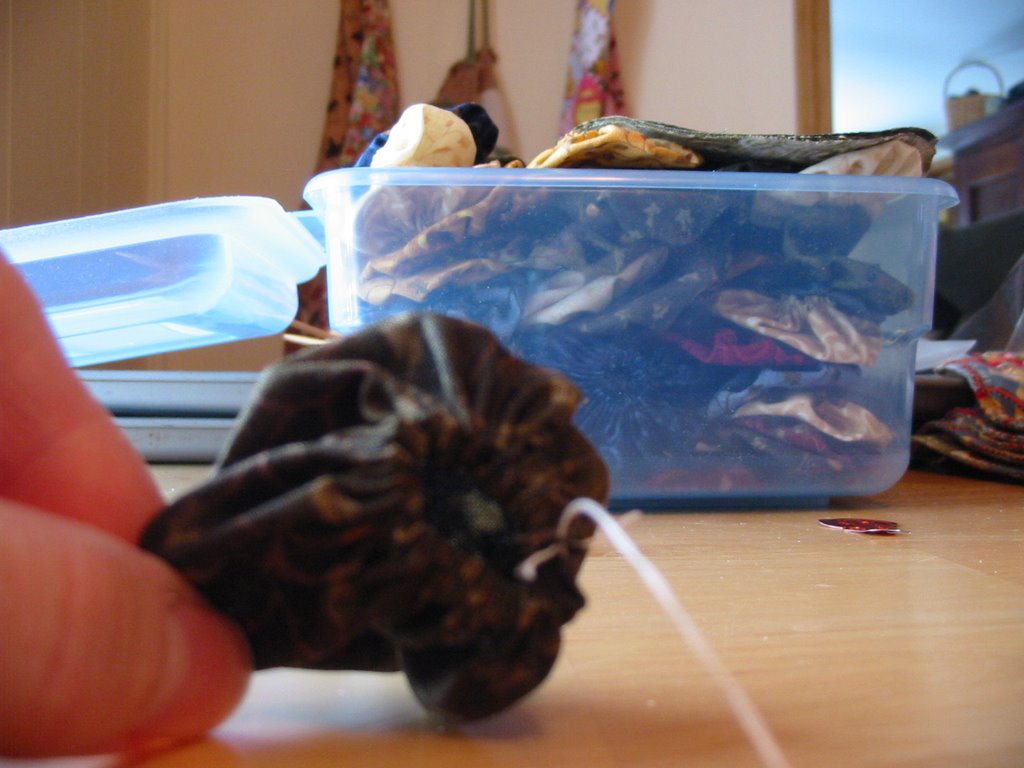
When you get all the way around, simply pull the stitches up as tightly as possible. If you've done it correctly it will resemble a tiny shower cap. Take a couple of tiny stitches in one of the folds and knot off the thread. Clip the threads close to the fabric. Then you just have to fuss with the finished product a little to make it lay nice and flat.
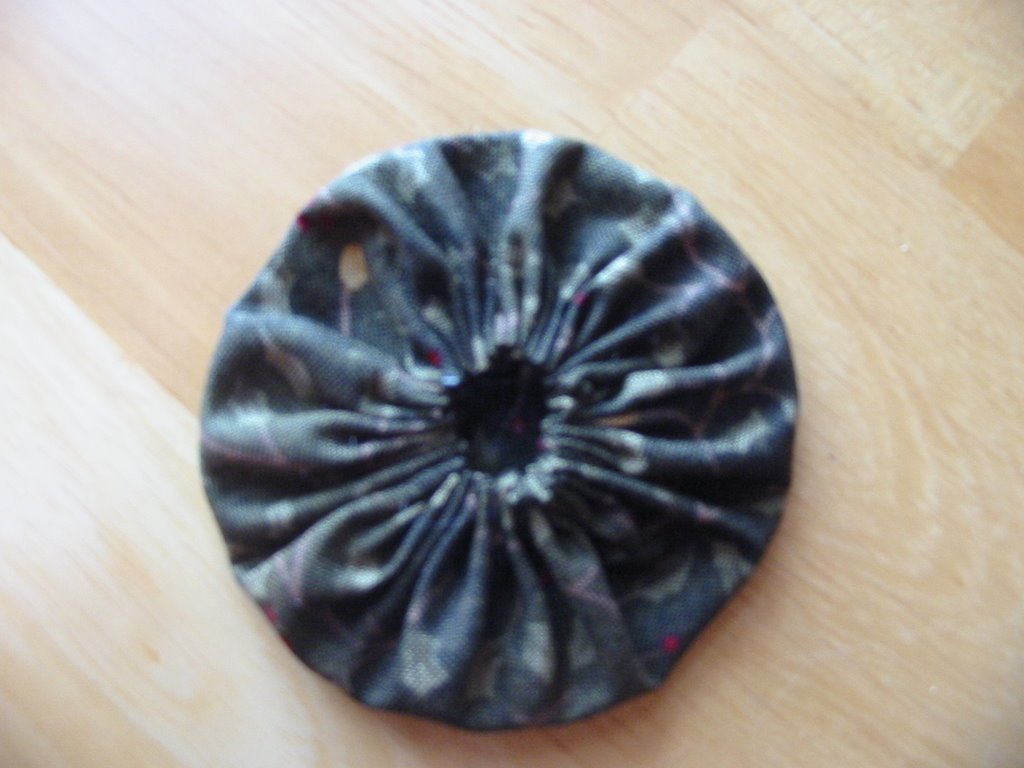
From what I have read I believe that, technically speaking, this is the "right" or "public" side of a finished yo-yo. But, as with all things crafty, I suppose that's up to the person making them.

If you like this side better, go for it! You definitely see more of the print this way.
Yo-yos are NOT meant to be made into a quilt that will get a lot of hard use. They are nice for decoration only. This is because when you sew them together, you just whipstitch the edges.
Hold two yo-yos with either the right or wrong sides together, depending on the look you're going for. Also, use a thread that will blend in well - I used this light cream so it would show up on the blog, but I will do the rest in a darker tan. Whipstitch the edge for about 1/4 inch, catching just a few threads at a time so they lay nice and flat.

Here are two joined together. Aren't they sweet?
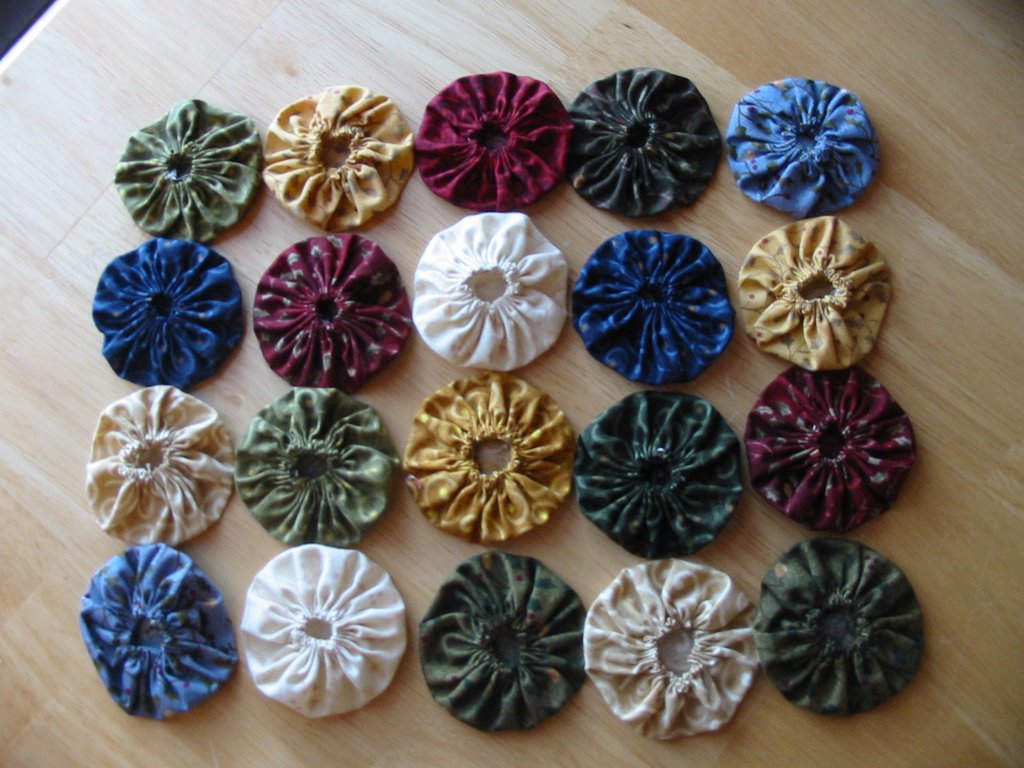
You can lay them out in any arrangement that pleases you, of course. I am hoping to make a garland out of mine, so they will just go end-to-end, but you just do the same whipstitch between them to make rows.
Another neat way to use them is shown on Amanda's blog, where I originally got the garland idea. She glued them to ric-rac and I think also used buttons as accents.
Fun, huh? I am sort of yo-yo'd out after making all of these, but I will most likely be stitching some up again in the future.
Hat pattern to come over the weekend, hopefully. Now, about that to-do list.....

4 comments:
What a great idea! Something I will have to do in the evenings when the house is quiet. Thanks for the instructions - now I know a yo you can be more then a child's toy:)
That's fun! I didn't have a clue what all the yo-yo talk was, but those are really cute. If I ever get up the motivation to start a new sewing project, I might have to work these in somehow. Or maybe when the girls get older and want to learn, I could start them out making some of these that we could turn into Christmas garland or whatever strikes our fancy. Good stuff. And well-writted instructions!
When I was a little girl, my aunt made me the cutest clown out of yo-yos. I played with and cherished that clown until he fell apart. Sad day....
You make the most interesting and beautiful items!
I can't wait to see these on your tree.
Post a Comment